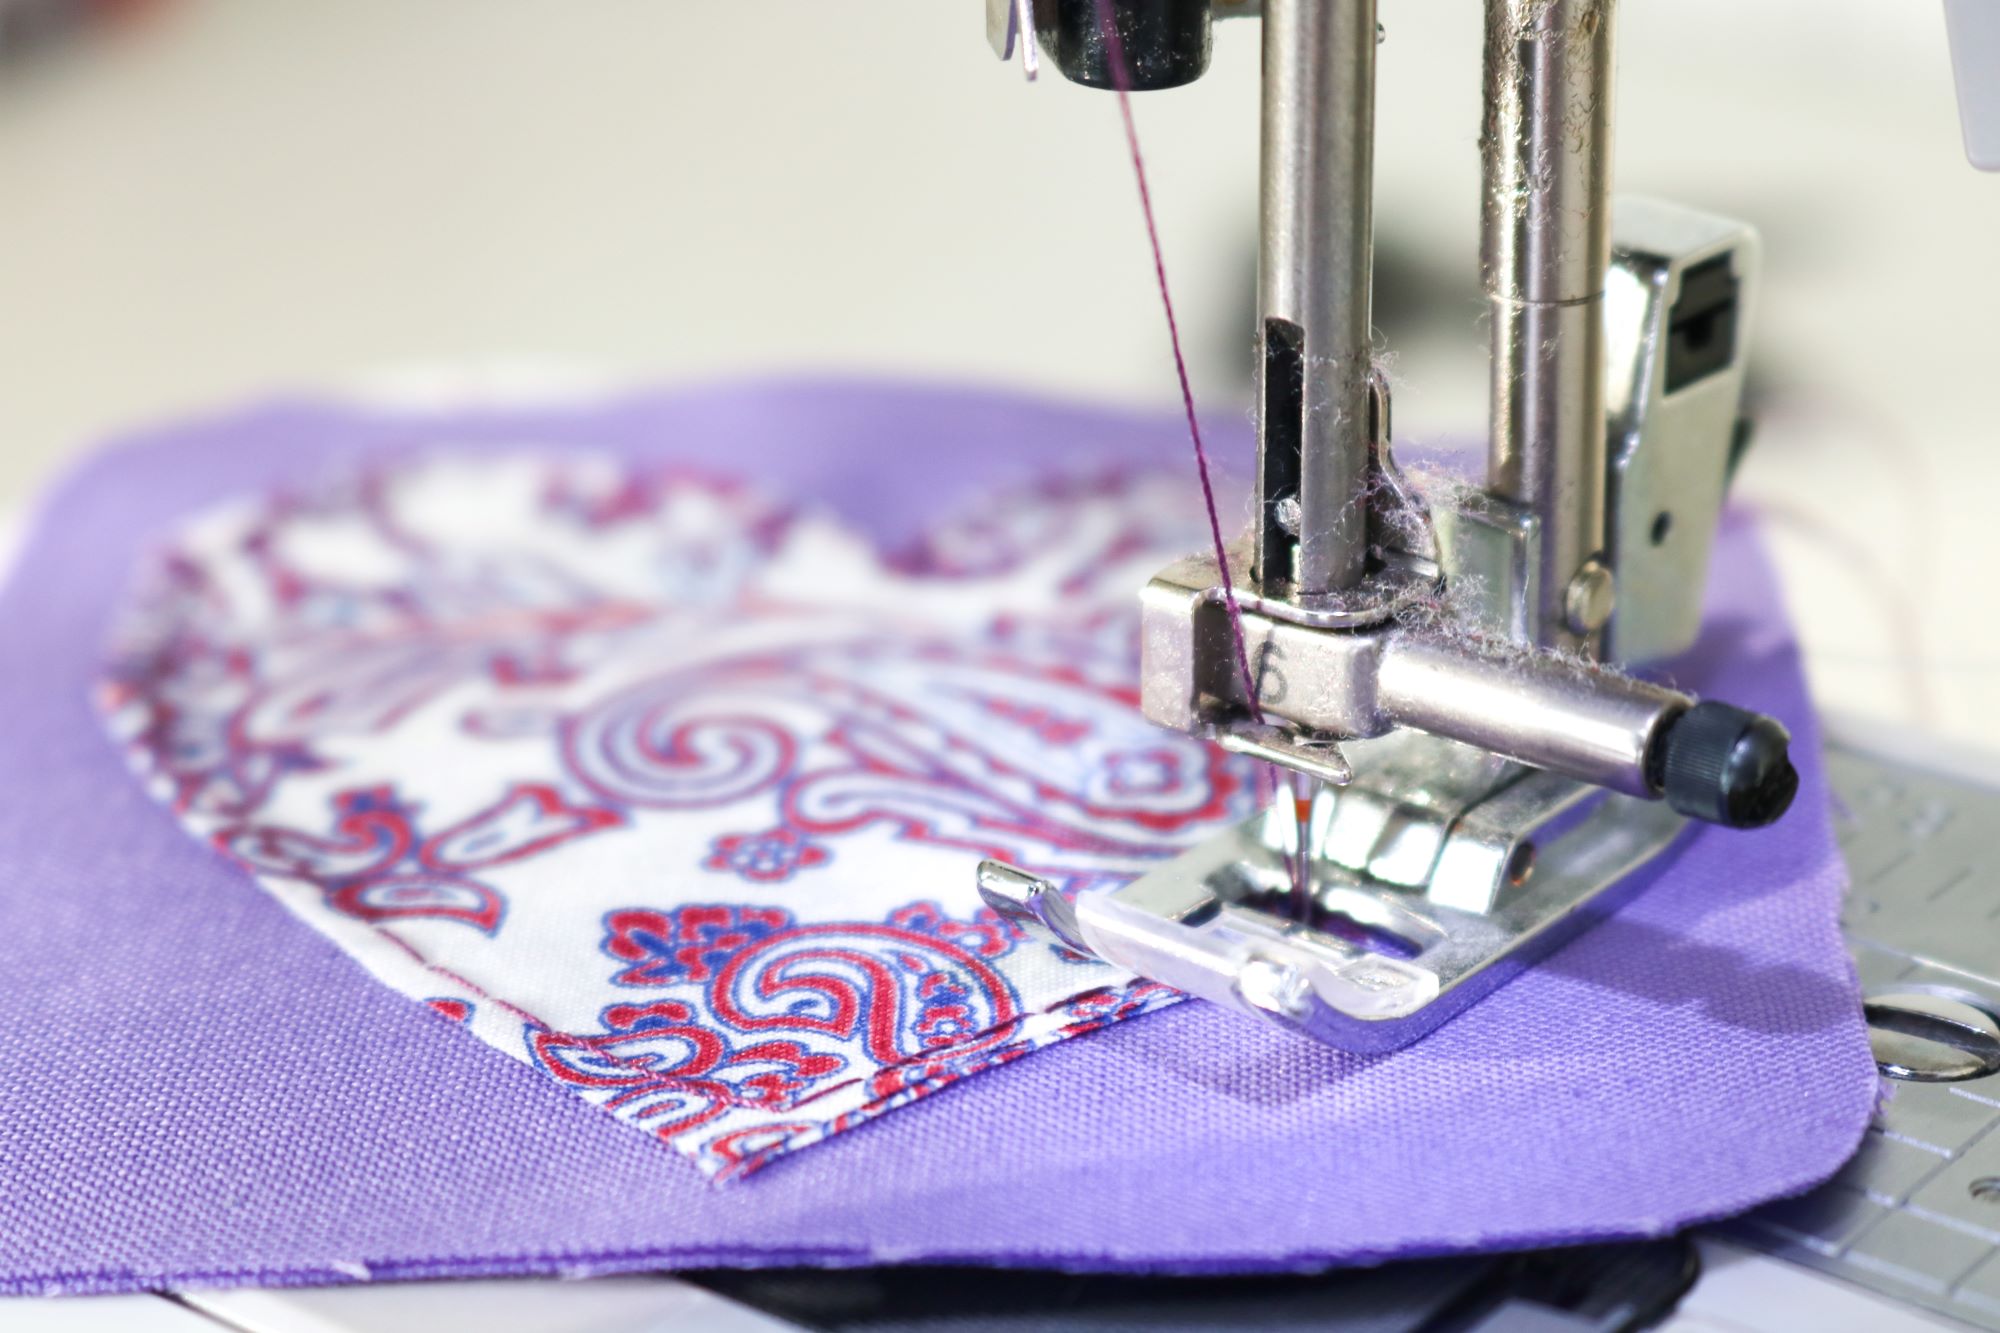
Ever finished a sewing project only to have the seams start coming apart after a few uses? If you’re new to sewing and wondering how to make your projects durable, backstitching is a game-changer you need to know. 🧵
Backstitching’s a simple technique that can save your creations and helps give them a professional, polished finish. It’s a must-know for anyone learning to sew and will quickly become one of your go-to skills. 💪
Whether you’re hemming a skirt or crafting your first tote bag, learning how to backstitch is essential for creating strong, long-lasting handmade items.
In this post, we’ll explore what backstitching is, why it’s important, and give you a step-by-step guide to mastering it on your sewing machine. Ready to lock in your stitches like a pro? Let’s go!

Disclosure: This post may contain affiliate links, meaning that I get a small commission if you decide to make a purchase through my links, at no extra cost to you.
What is backstitching?
At first glance, sewing might seem like a maze of stitches, each with its unique purpose and know-how.
Backstitching is a technique where you sew backward at the start and end of a seam to secure your stitches. Think of it as tying a knot but with your sewing machine.
It’s called “backstitching” because you’re literally stitching in reverse for a short distance. Most sewing machines have a handy reverse lever or button that makes it super easy to do. Don’t worry—it sounds fancy, but it’s actually one of the simplest sewing techniques out there and it takes mere seconds!

Why is backstitching important?
Imagine spending hours sewing a beautiful tote bag, only to find the handles coming apart after the first use. 😱 That’s what happens without backstitching!
Knowing how to backstitch properly can elevate your sewing projects from homemade to professionally crafted. 💪 It ensures that your creations can withstand the test of time (and the occasional tug-of-war between your kids and the pets).
So, here’s why a couple of small backstitches is a big deal:
Backstitching prevents seams from unravelling
When you sew a seam without backstitching, the thread at the start and end of your stitching is left unsecured. Over time, regular use, movement, or washing can cause the thread to pull loose, unravelling the stitches from the ends.
By sewing backward over the first few stitches, you’re effectively “knotting” the thread in place.
Backstitching adds strength and durability
Seams are the backbone of any sewing project, holding fabric pieces together under tension. Without backstitching, the stitches at the ends of a seam are more likely to loosen, causing the seam to fail over time. Which of course leads to frustration and disappointing results of your creations. 🙈
The overlapping stitches reinforce the most vulnerable parts of the seam—the ends—so they can handle more stress without coming apart

Backstitching saves time and stress
Having to repair or redo seams because they’ve unravelled can be time-consuming, wasteful and downright disheartening. 😪 Fabric, thread, and your time and energy are all valuable resources!
By taking a few extra seconds to backstitch at the start and end of your seams, you save yourself the hassle of fixing undone seams later. This is especially useful to remember for items that will experience frequent wear and washing.
How to backstitch on a sewing machine
Ready to give it a try? Here’s how to backstitch like a pro, even if you’re brand new to sewing:
Backstitching Step 01.
Position your fabric under the presser foot, lower the needle, and begin sewing forward for a few stitches. This gets the seam started.
Backstitching Step 02.
Look for the reverse lever or button on your sewing machine (usually near the front). Hold it down while pressing the foot pedal. Your machine will sew backward over the stitches you just made. No need to push or pull the fabric when doing this! ☝️

Backstitching Step 03.
Go back about 3 to 5 stitches. Don’t overdo it- just enough to lock in the seam without making the stitching too clunky.
Backstitching Step 04.
Release the reverse lever and keep sewing forward along your seam as usual.
Backstitching Step 05.
When you reach the end of your seam, repeat the backstitching process: sew forward, sew backward a few stitches, then sew forward to finish.
That’s it! Your seam is now secure and ready! ✨
Backstitching is a small but mighty technique that every sewing beginner should master. 🧵 By taking just a few extra seconds to secure your seams, you’re ensuring your projects are stronger, more durable, and built to last. Whether you’re sewing garments, bags, or home décor, backstitching adds that professional touch that makes all the difference. Remember, sewing is all about those little details, and backstitching is one of the easiest ways to elevate your craft. So, grab your machine, practice your stitches, and enjoy the confidence of creating with seams you can trust! ✨
More sewing tips for beginners
💪 Straight lines sewing projects
💪 3 tips to help you stitch straight
💪 Beginners’ tips to know before you sew
💪 If you love sewing, here’s why you need a sewing machine
💪 Sewing machine terms easily explained
💪 Sewing patterns, perfect for beginners (and backstitch practice!)


